Google Sheets™ Destination
Docs on using Finicom's Google Sheets™ destination, to sync bank account transactions into a Google Docs Spreadsheet.
Intro
Finicom's Google Sheets™ destination syncs your financial transactions to a spreadsheet within your Google drive account or Workspace, so anyone in your workspace can create financial reports directly in Google Sheets™!
Watch How To Connect Google Sheets
Creating a Google Sheets™ Destination
- Go to your organization's destination page
- Click "Add Destination"
- Click "Google Sheets™"
- Make sure you have a Google Account connected to Finicom. If not, select the "Google Account" dropdown and select "Connect to Google"
- Complete Google's authorization flow to connect your Google account to Finicom.
- Select the Google account you'd like to use for this Desitination
- Select which Spreadsheet you'd like to sync transactions to. Finicom will open a selector that allows searching and selecting any sheet in your drive.
- Last, optionally select which sheet within your spreadsheet you'd like transactions to sync into.
- If no sheet is explicitly selected, Finicom will automatically sync transactions into the first sheet of the spreadsheet. When this happens and a different sheet moves into the first position, transactions will begin to sync to the new first sheet.
Details
- New transactions are added as a new row into the last open row without any data inside it.
- Modified transactions (moving from pending to posted status) will update the transaction's row within your spreadsheet to be correct & current data.
- Removed transactions (voided) will clear the transaction's row from your spreadsheet.
- To filter and only sync transactions to your spreadsheet for a specific transaction status (pending or posted) use filter to filter for only the status you'd like.
- Re-ordering rows is safe. When Finicom creates a new row of data, updates will apply to that row of data, wherever it is within that same sheet.
- Finicom may not sync transactions in the order they appear on your financial account. We recommend applying a sort order within your spreadsheet to achieve a desired ordering.
- You can enable the "Sort after syncing" option when creating or editing your Google Sheets destination to automatically sort your transactions by date, with the most recent transactions at the top.
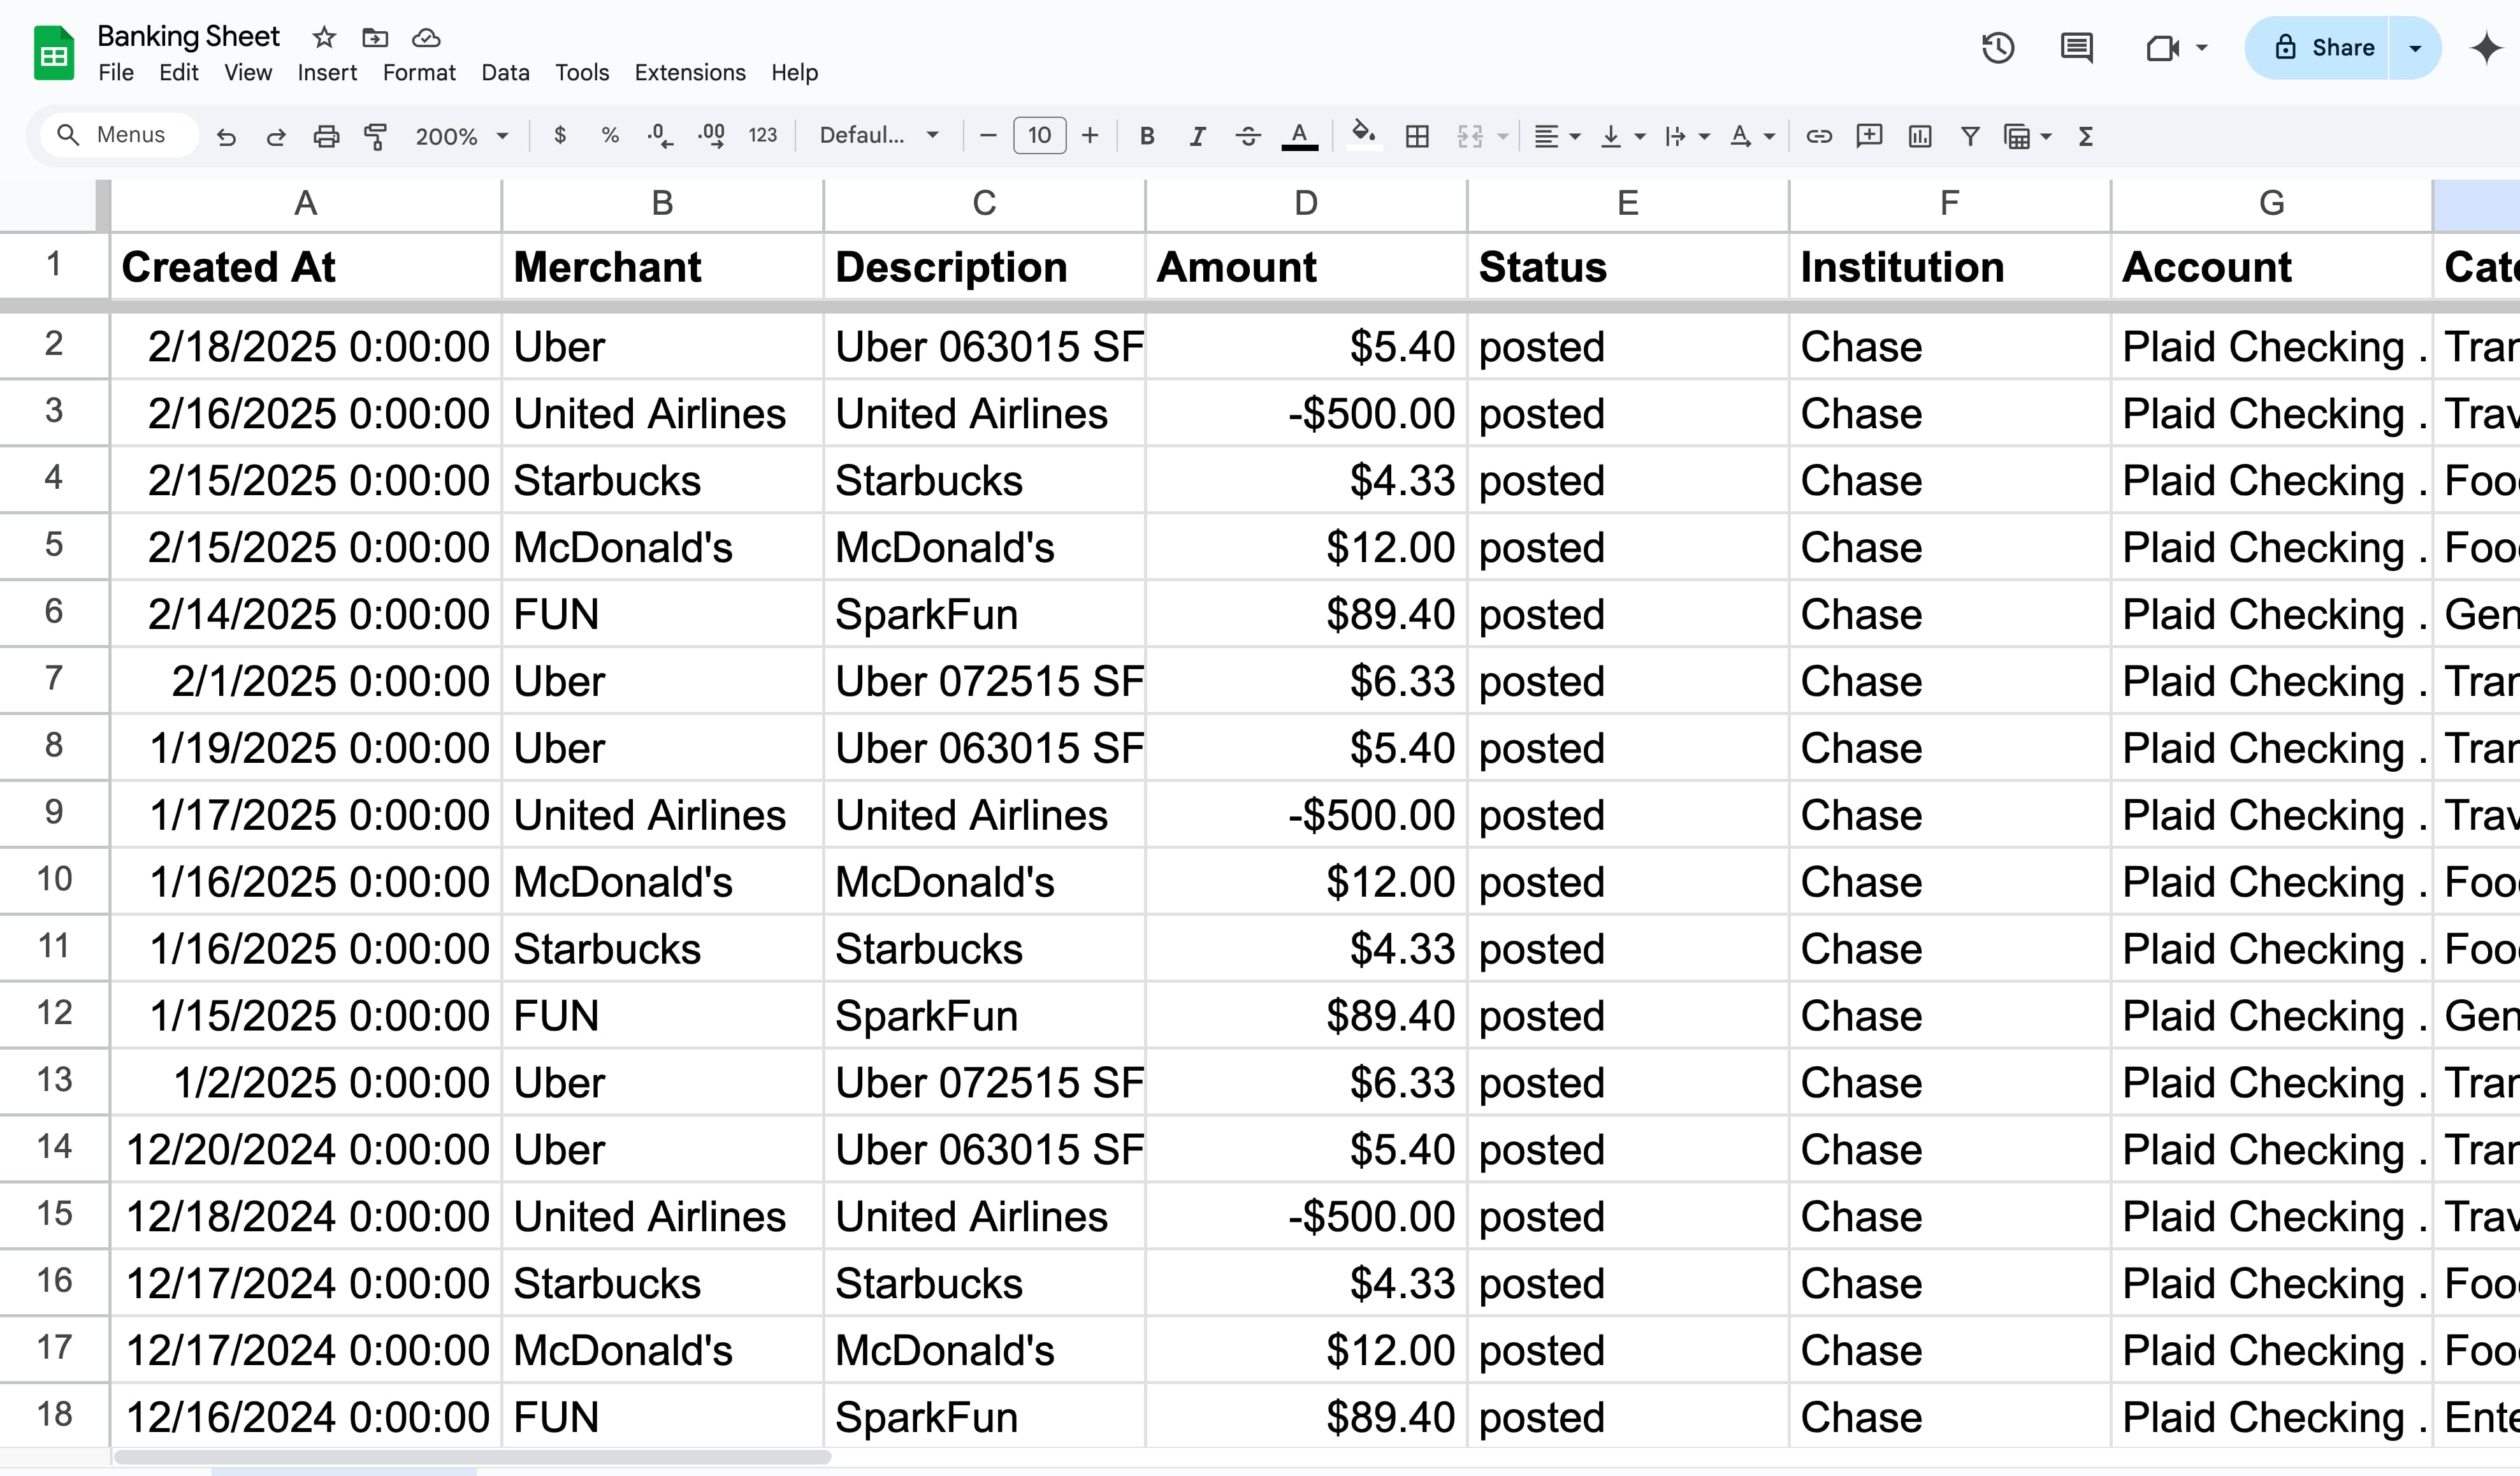
- Re-ordering columns is not safe, but hiding columns is. Finicom will always sync data across columns within a single row in this order:
- Transaction creation date (Date & time)
- Merchant the Transaction was with (text)
- Transaction description (text)
- Transaction amount (number)
- Transaction status (pending, posted or void)
- Institution Name (text)
- Source Account Name (text)
- Transaction Category (text or empty)
- Currency code (ISO 4217)
- Unique transaction identifier (text)
- Unique financial account identifier (text)
- Finicom always tries to maintain an accurate sync with your financial account. Because of this, if a transaction moves from pending to posted and that transaction is not present in your sheet, it will be added.
- Modifying data within a row may be overwritten or deleted if the transaction is not already in a posted (final) state, however, adding more data into columns after transaction data will not be modified
Template
Don't have an existing Google Sheet? Create one in exactly the correct format from our template here.
Keeping a Google Sheet Sorted
Automatic Sorting with Finicom
Finicom makes it easy to keep your transaction list organized with automatic sorting. When enabled, this feature automatically arranges your transactions by date after each sync, with the newest transactions always at the top of your sheet. We highly recommend turning this on for a cleaner, more manageable financial overview.
To enable this feature:
- When creating a new Google Sheets™ destination, toggle on the "Keep sorted by date (newest first)" option
- For existing destinations, go to your destination settings and enable the "Keep transactions sorted by date (newest first)" option
When this feature is enabled, Finicom will automatically sort the first column of your spreadsheet in descending order. Since the first column we sync is the transaction's "Created At" date & time, this will put the most recent transactions at the top of your sheet. If you have a header, text will always be sorted before dates, keeping headers at the top.
Working with Google Sheets™ tables
Google recently introduced native tables in Sheets, and they can be applied to any range. Finicom supports automatic sorting when the table encompasses the synced transaction rows (for example, a table starting at the header row and including all transaction rows). In these cases, we detect the table header and only sort the rows beneath it so your header stays pinned.
If the table is applied to a subset of rows or columns (for example, the table begins partway down the sheet or covers only a portion of the synced data), the Google Sheets API may still reject sort requests against the table header. When that happens, Finicom pauses sorting and surfaces an in-app prompt letting you know that sorting isn’t currently possible for that sheet setup.
To ensure automatic sorting works reliably:
- Make sure the table range covers the entire transaction list, including the header row.
- Avoid creating multiple tables on the same sheet that overlap or sit within the synced range.
- If you prefer a more custom layout, you can disable the "Keep transactions sorted by date" option and manage sorting manually.
Manual Sorting
Oftentimes, your transactions will be listed with the most recent dates at the top. Finicom will always add transactions to first open row from the top.
If you wish to manually apply a sort to your transaction's data, you can safely do so.
Limitations
Transaction Limits
New destinations (created after December 2025) have no practical limit on the number of transactions per Sheet. You can sync tens of thousands of transactions to a single Sheet without issues.
Older destinations (created before December 2025) may have a limit of around 800 transactions per Sheet due to Google Sheets™ metadata storage constraints. If you have an older destination and are approaching this limit, you have a few options:
- Create a new destination pointing to a new Sheet - new destinations automatically use our improved sync method with no transaction limits
- Split your data by creating a new Sheet in the same Spreadsheet and updating your destination settings to point to the new Sheet
- Use our Google Sheets™ extension which provides formulas like
=FINICOM_GET_TRANSACTIONS()that have no limits and offer more control. Learn more about our extension
Controlling which transactions are sent:
You can manage which transactions are sent to a destination using our filtering feature. This allows you to send transactions based on the date they were created, merchant, amount, and other criteria, giving you precise control over what data gets synced.
Other Limitations
Once a transaction has been synced to a Google Sheet, Finicom is unable to add that transaction again automatically in a different place until that first transaction is deleted from the spreadsheet.